
Side quests: where you get stuck, and what works
Most side quests stall on one small thing: an object you cannot spot, a house nobody labels, or a place you already visited that the quest will not count. Find your quest in the table, then jump to it. Each section gives the Journal’s own wording and what gets it moving; some details may have changed in later updates.
| Quest | Where it stalls | What works |
|---|---|---|
| Secret Admirer | What Finn's riddle means | Three ginger cats and three pink flowers at the tent the Journal names |
| Mother-in-Law | Which house is Finn's | Save, put one flower at every house, see which one the Journal counts, then reload |
| Band of Ghosts | Nothing happens at night | One player: send the scouts after dark, then steal three instruments |
| Whack-A-Mole | The steps before the big molehill | Clear molehills at home, place 10 mole traps, clear them again, then blow up the mound at Deadman's Wash |
| Broken Business | Howling Wind Pass does not count | Send scouts there again |
| Forever and After | An existing church does not count | Rebuild the church |
| Bit Boring Here, Partner | Which decorations count | Three different ones at each of three buildings |
| Red Ghost | Where to look | Two locations, a camel, then a choice at the Town Hall |
| Unusual Priest | Where the priest is | Explore Dustwind Flats, then trade with him |
| Spare Change Boss | What Johnny wants | He can ask again; paying once earned a key |
| The Key to Money | Where the key comes from | Load the miller's flour at Armadillo Springs |
| The Lumberjack Saga | The axe, then the ring | Look for both in Dust Creek |
| Cattle for Natives, First Contact | Where 30 cattle come from | A cattle ranch in range of a barn, then click the icon above the Logistics building |
| A dog on a scouting trip | Getting past the dog | Meat from a barrel in the same scene |
Secret Admirer
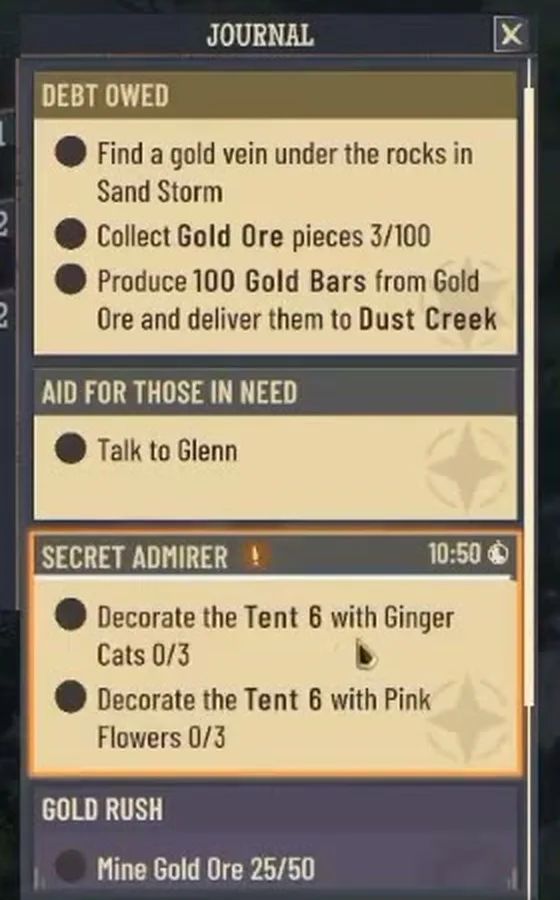
Mason’s son Finn vanishes every night. Find him in town after dark and he explains: he is sweet on someone, and he half-remembers what she likes: “She likes orange flowers and pink cats. Wait, no, the opposite. Oh, and she loves the number 3.”
So it is the opposite of what he says first: ginger cats and pink flowers, three of each, placed at the house the Journal names. It may be Tent 6 or another one; use whichever tent yours shows, since the number can differ between saves. The quest runs on a timer, so have some cash ready before you talk to Finn: the decorations can use up everything you have.
Achievement: You've got mail, held by 25% of players.
Mother-in-Law
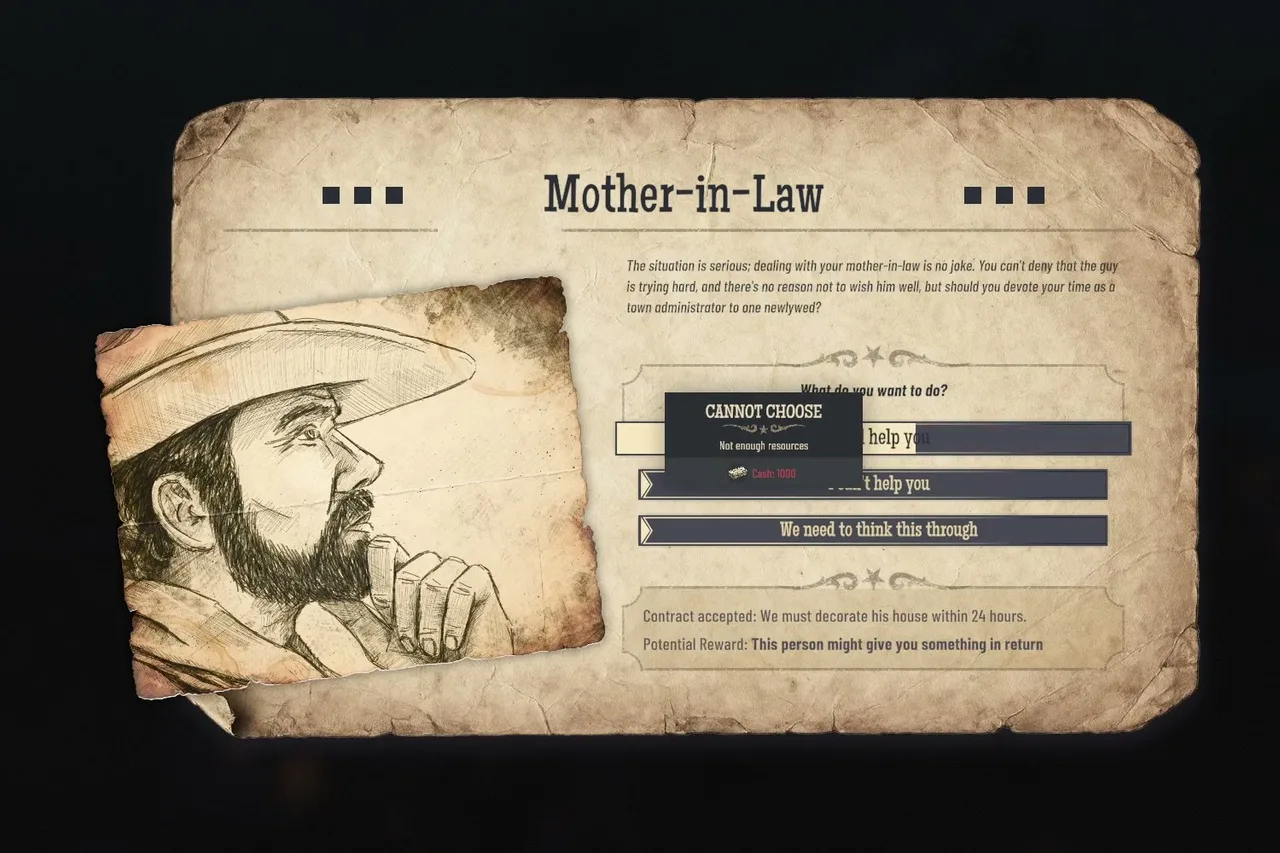
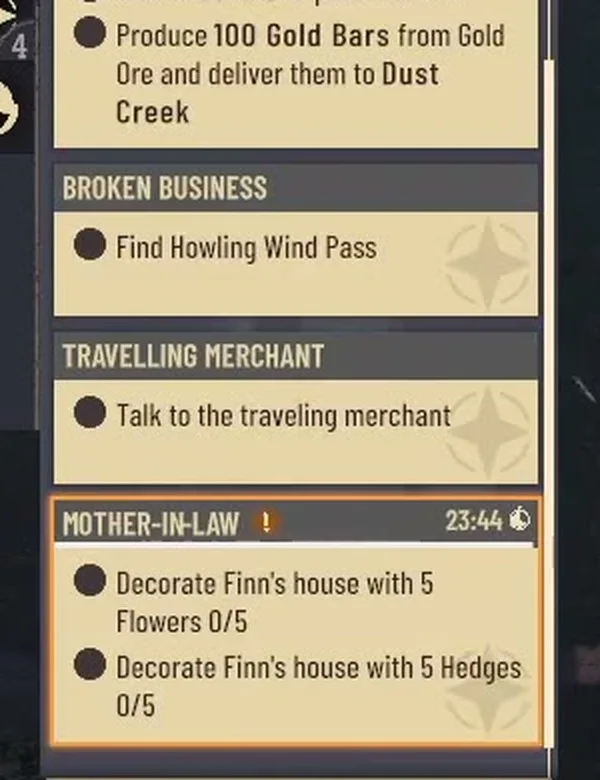
Finn again, now married, with his wife’s mother arriving tomorrow. Accept and the Journal asks you to decorate Finn’s house with 5 flowers and 5 hedges within 24 hours. Check your cash before you choose: the option to help cannot be picked until you have enough.
The catch is finding the house. One player went through every home: “There is no way to spot which house is Finn's so that we can decorate it to fulfil the goal.” Players found a workaround: save first, then put one flower at every house and watch which one makes the Journal count go up. “Way I found it was saving my game then adding a flower to every house until I saw the quest update that I had placed one.” Then reload the save and decorate only that house. Don’t expect Finn to be listed there: one player found his house was an empty one with no residents yet. “His house for me was a empty house that had no residents in it yet.”
Achievement: The Real Final Boss, held by 3% of players.
Band of Ghosts
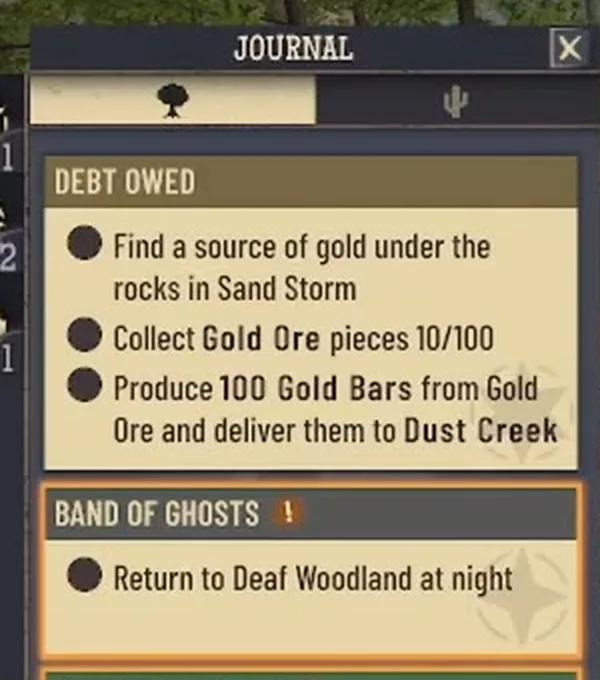
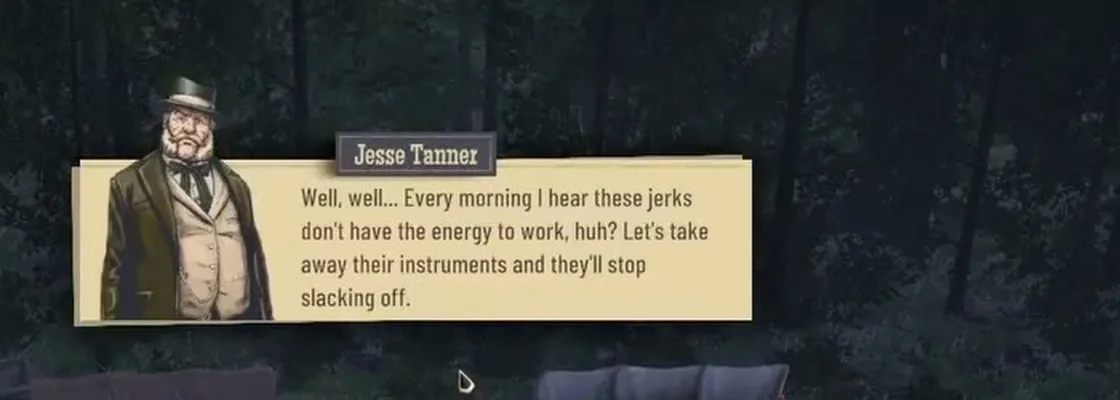
Some of your workers turn up too tired to work, and the trail leads to Deaf Woodland. The quest begins with searching the woods by day for three pieces of evidence and then going back at night. The last step is to steal the musicians’ instruments, three of them: at night the scene has figures you can click, labelled Night Musicians, and Jesse sums up the plan: “Let's take away their instruments and they'll stop slacking off.” Finishing it unlocks a piano decoration.
Some players report going back at night and nothing happening. One player finished it by sending the scouts after dark instead of parking them there to wait for night: “I think the last time I did it I actually waited until it was night to go there rather than stage my scouts.” If the musicians still do not appear, send a report from the pause menu with that save loaded; that is what the team asked for when the molehill cutscene failed to play, below.
Achievement: Ghostbusters, held by 10% of players.
Whack-A-Mole: the molehill at Deadman’s Wash
A town event called Mole’s Work has molehills popping up around Dust Creek. A player who finished the quest describes the steps before the final mound. It starts at home: “First you have to wait a few days until a quest shows up in your main settlement that you have to destroy some mole hills in your settlement.” Then place 10 mole traps in your settlement, and some days later destroy the mole hills there again. Only after that do you travel to the big mound.
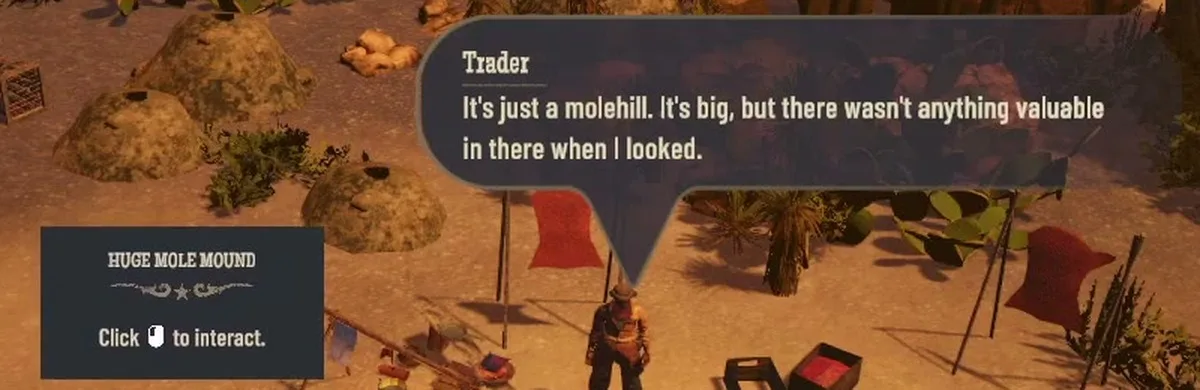
An official forum account gave the last step: head to Deadman’s Wash. “There's a big molehill there. A cutscene should play when you arrive, then click on the molehill and hit the interaction button in the popup to blow it up.”
Several players found only the trader and no cutscene. The publisher’s answer was to send a report through the pause menu’s Send Feedback button while that save is loaded, so the team can look at it. First make sure the three steps in your own settlement are done; one player found the cutscene only started after them. If it still does not start, send the report. Asked whether the mound needs explosives, the publisher gave the same advice: send the report.
Achievement: It's getting out of hand, held by under 1% of players.
Broken Business
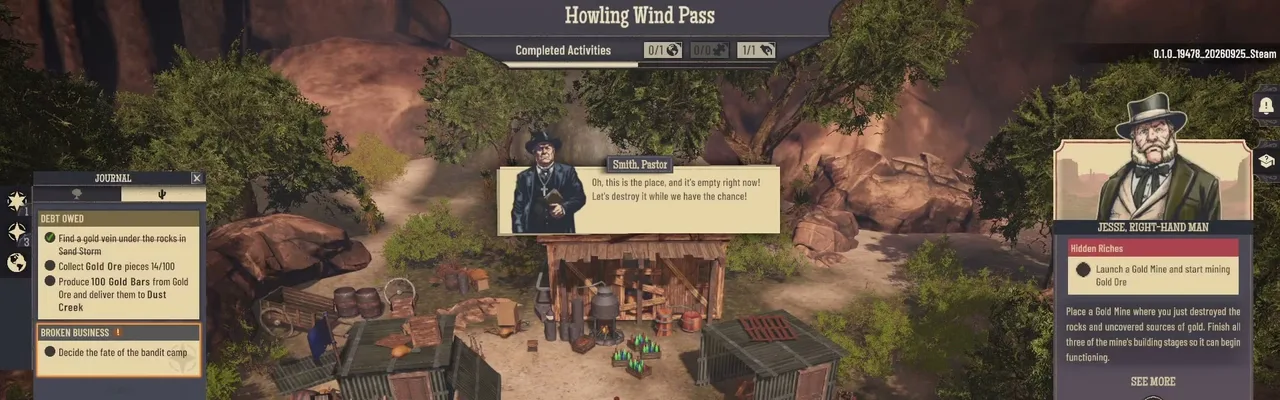
The priest sends you after bandits who are distilling moonshine near his church. The Journal asks you to find Howling Wind Pass, then decide the fate of the bandit camp. If you found the pass earlier, it may not count; one player’s note: “Finding Howling Wind Pass: It s already found. Doesn’t count. Have to go there again”. So send the scouts back.
At the camp the choice splits two achievements: destroy it all (Holier-than-thou) or take the moonshine lying around first (From behind). An update fixed missing Moonshine Boxes in the priest’s questline, so update the game if his moonshine never turns up. The license side of moonshine is on Moonshine Scandal.
Achievement: Thou Shalt Not Distill, held by 10% of players.
Forever and After
The Journal line is one step: build a church. If you already had one, it may not count. A player’s fix: “Even if I had the church built, it didn t count. I had to demolish the church and rebuild it for it to count.”
Achievement: Happily ever after, held by 14% of players.
Bit Boring Here, Partner
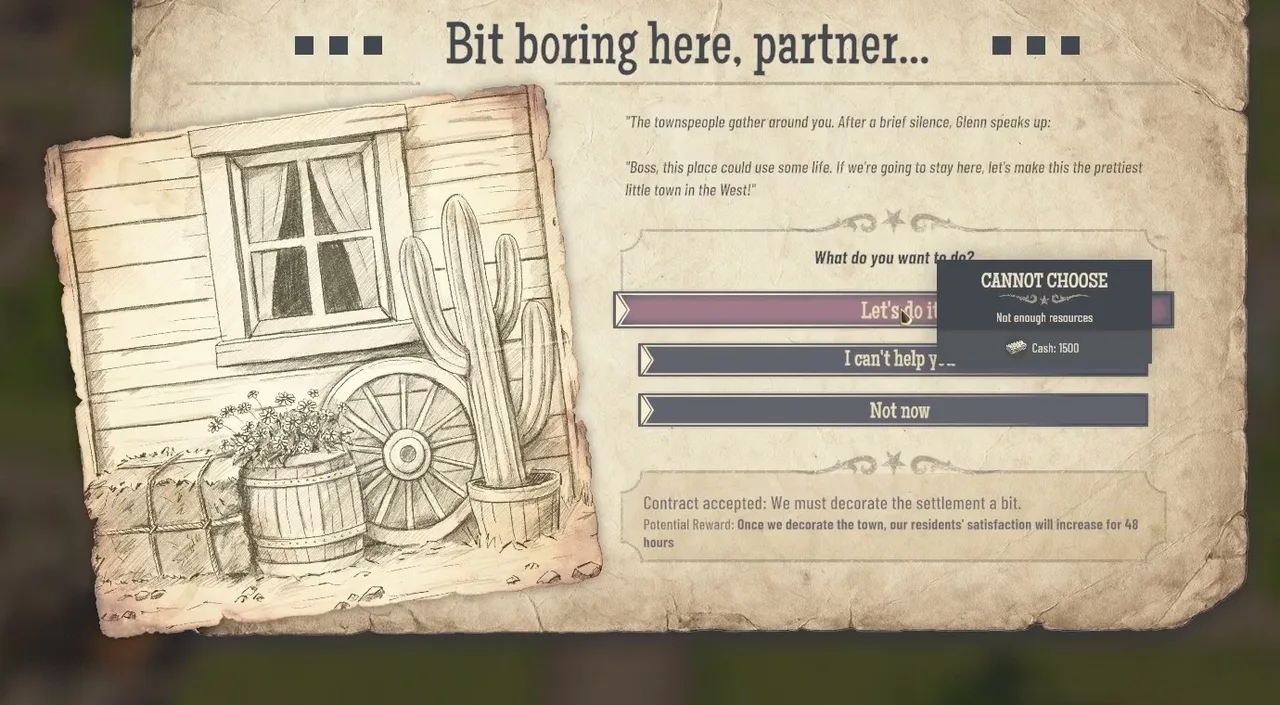
Glenn wants the town to look like somewhere worth staying: “Boss, this place could use some life.” The card comes up in Dust Creek right after the debt is paid, and the Journal then asks for different decorations at three buildings: 3 at the Food Shop, 3 at the Kitchen and 3 at a Gatherers Hut. The reward is higher residents’ satisfaction for 48 hours. They have to be different kinds, placed around the building; a flag may not count. Have the cash ready before you accept, since the card will not let you choose Let's do it without enough.
Achievement: Exterior decorator, held by 5% of players.
Red Ghost
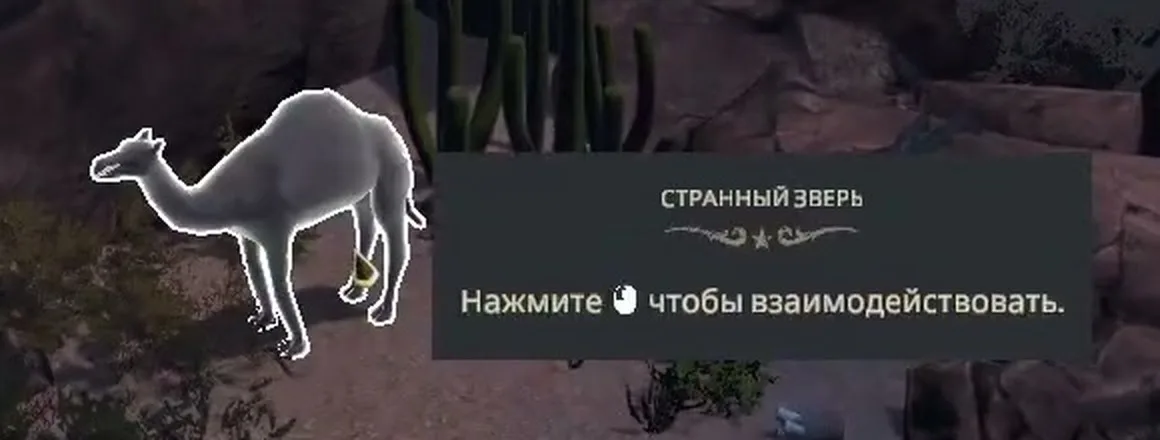
A frightened man in Dust Creek swears he saw a ghost at an old bar out at Sunset Pass: a see-through horse with a skeleton in the saddle. The Journal sends you to look for it there, then at a second place, Whispering Hollow, where a Strange Beast can be clicked. It is a camel. The place names in your game may be different.
The ending is a choice back at the Town Hall, where Johnny is waiting: tell him it was an ordinary camel, or that the ghost has been banished. The card says the truth might earn a reward if he likes it. A clue at the first location is easy to miss, so search each scene fully before you leave it.
Achievement: The Phantom Menace, held by 1% of players.
Unusual Priest
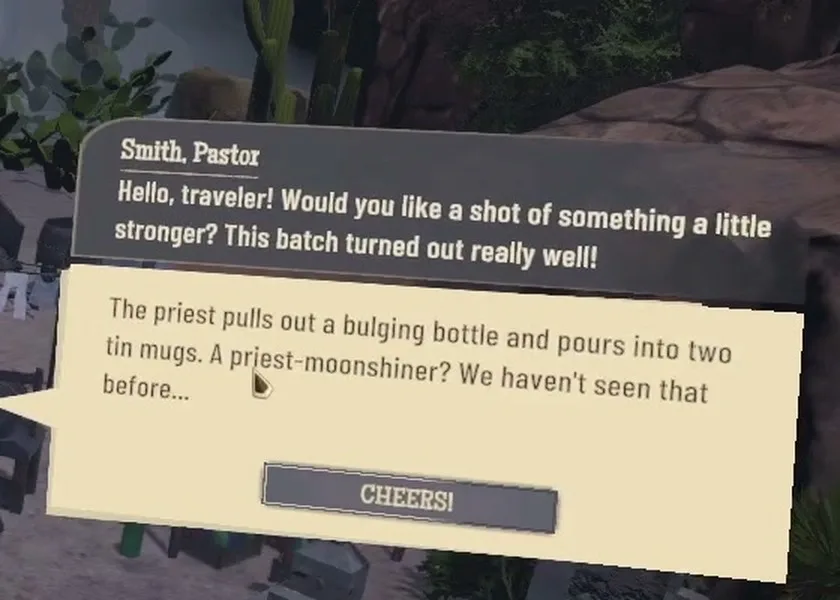
You meet him by exploring Dustwind Flats: Pastor Smith pours you something strong, and the narration notes, “A priest-moonshiner? We haven't seen that before...” The world map then offers a quest to start trading with the priest. A later quest is locked until you finish Unusual Priest, so it is worth doing. Broken Business, above, is one of his jobs; if the trade stalls, see the note there on missing Moonshine Boxes.
Achievement: The power of Christ compels you, held by 7% of players.
Spare Change Boss
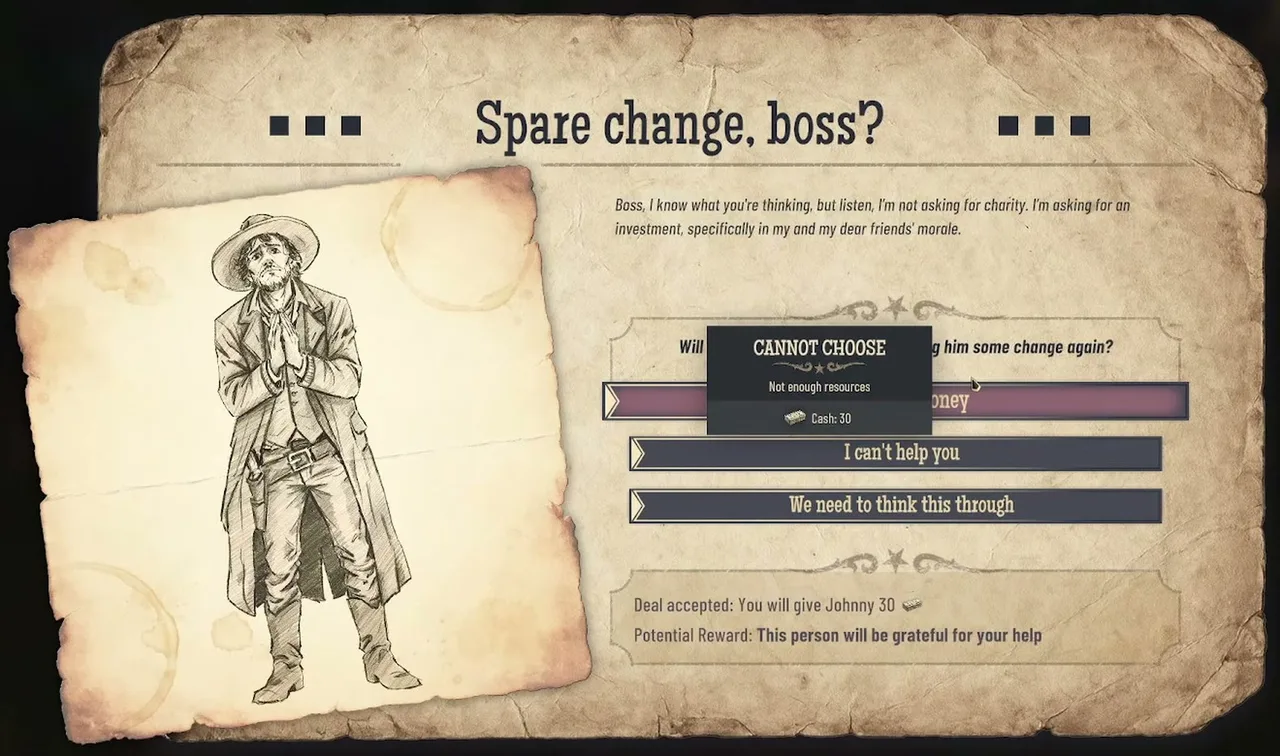
Johnny, the town drunk, comes to you with a plea for the saloon’s bourbon: “A few coins could prevent a real tragedy!” The card marks turning him down with no reward, so paying him looks like the way to finish it. Finishing the side quest earns Sugar Mayor.
Johnny does not always ask only once: the card can come back, asking for some change again. One version asked for 10 cash, a later one for 30. Paying him once got a reward: Johnny handed over a key. What that key opens is not known yet.
The Key to Money
The Journal wants you to find and open a chest in Rosewood Clearing, but the key comes first. It comes from the miller at Armadillo Springs: he is too sick to load his flour, so load the bag onto his cart and he hands over the key and tells you the chest is in Rosewood Clearing.
The Lumberjack Saga
A lumberjack in Dust Creek has lost his axe, and once you find it, his wedding ring. The Journal asks you to find an axe, then a ring. Both are in town, and the ring is marked by a small arrow, much like the shovel.
Achievement: Timberrrrr!, held by 1% of players.
Cattle for Natives and First Contact
First Contact asks you to gather 20 rifles and 20 unemployed men for the natives, and Hialeah repays you with a recipe. Cattle for Natives asks for 30 cattle. Cattle need a ranch, which is its own idea; the publisher’s tip is to click the ranch to add pens and keep it in range of the barn. Barn and ranch costs are on farms and ranches. Sending them is the part players miss. One player’s answer: “i had an Icon obove the Logistics to click.” Click that icon above the Logistics building to send the cattle. You no longer have to breed a fresh herd for it: since the fourth hotfix the quest counts the cattle you already have. For that player the request then came back every so often for another 30, and those later herds were sent on their way without any clicking. Whether you help the tribe against the bandits later splits two achievements; see quest order and achievements.
Achievement: Dances with cows, held by 3% of players.
A dog on a scouting trip
In one location, which one player calls Blackridge, your scouts find a dog in the way. It appears to be a different dog from the one in Shrubby Glade that the Who's a good boy? achievement asks you to pet. A player’s answer: “Explore the scene and look out for barrels. One of them contains meat. Pick it up and interact with the dog ;-)”
Related
The shovel and the buried treasure, Moonshine Scandal and the jail, quest order and achievements, and crashes and bugs for reporting a quest that will not trigger.