
Town Hall officials: every choice and what it does
Each settlement’s Town Hall takes officials, each picked from a card of three, and every pick is permanent. You choose the first in Dust Creek as soon as the Town Hall is up, a second once you upgrade it to a Big Town Hall for 500 cash and 50 planks, and Sand Storm gets its own when you settle the desert.
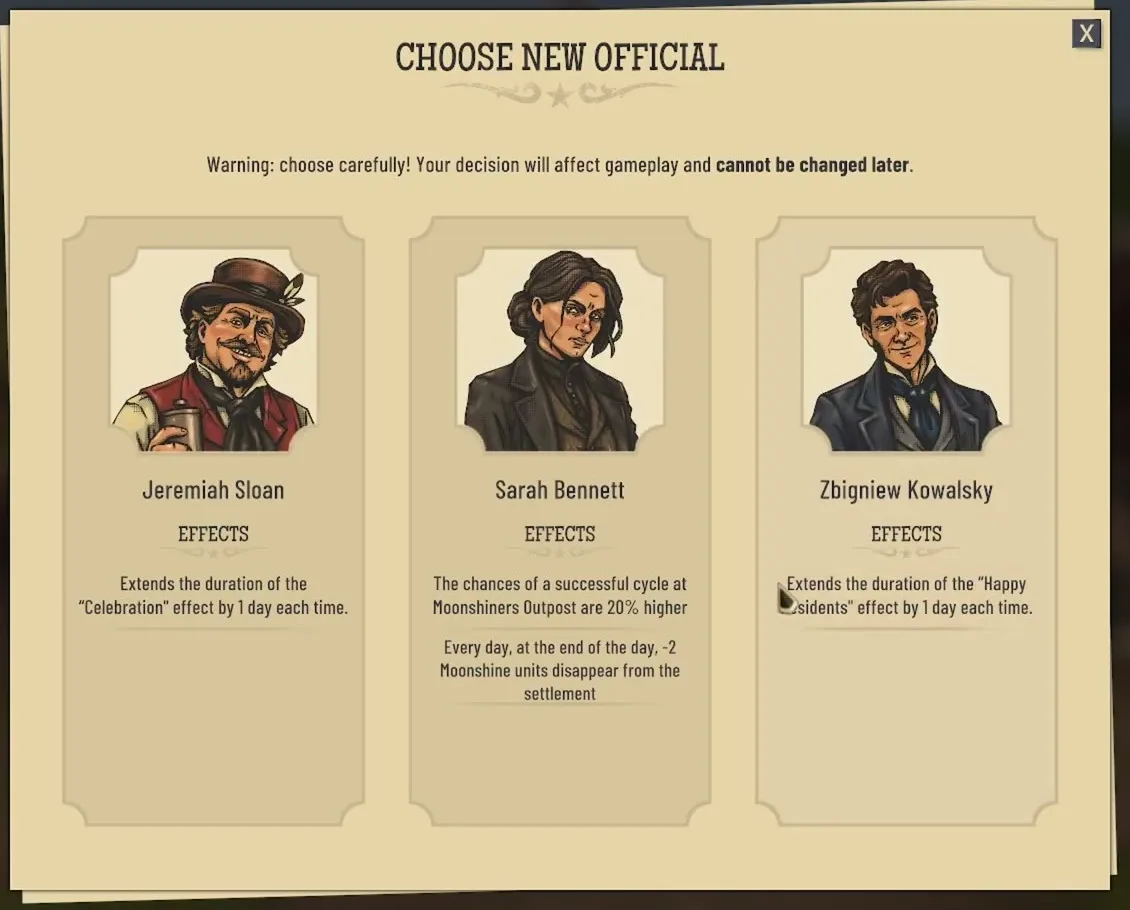
Every card carries the same warning: “cannot be changed later”. Several effects say “in this settlement”, meaning the town that appointed the official; Isaac Rowe’s is the clear exception, since it helps the towns you found next.
Dust Creek, first seat
Offered right after the Town Hall is built, before the first quest starts. How this first choice plays into the opening is on your first two hours.
| Official | Effect | Worth it for |
|---|---|---|
| Amos Hensley | Money gain from all sources in this settlement increases by 10%Extends the duration of the “Angry Residents” effect by 1 day each time. | Towns you can keep content. The downside only bites when residents are angry. |
| Virgil Boone | All buildings in this settlement are constructed 10% faster. | The opening rush, when thirty people need roofs and a food chain at once. |
| Isaac Rowe | Every newly established settlement will receive support in the form of additional resources to get started. | Only the move to Sand Storm, since that is the one other settlement you can found for now. |
Dust Creek, second seat: the Big Town Hall
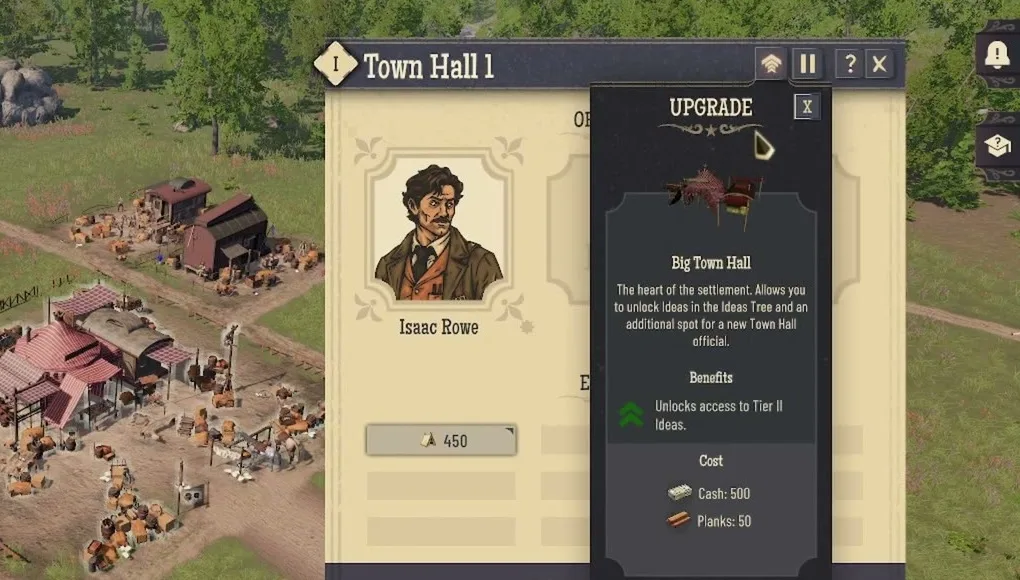
The second seat comes with the Town Hall upgrade. Besides the extra official, the Big Town Hall’s benefit line reads: “Unlocks access to Tier II Ideas.” The publisher calls the Carpenter’s Workshop, which makes the wooden parts a gold mine needs, a Level II idea, so this upgrade is most likely what opens it. Journey points and ideas covers the tree.
| Official | Effect | Worth it for |
|---|---|---|
| Jeremiah Sloan | Extends the duration of the “Celebration” effect by 1 day each time. | Towns that hold celebrations often. |
| Sarah Bennett | The chances of a successful cycle at Moonshiners Outpost are 20% higherEvery day, at the end of the day, -2 Moonshine units disappear from the settlement | Only if you run Moonshiners Outposts. Otherwise all you get is the daily loss of two Moonshine. |
| Zbigniew Kowalsky | Extends the duration of the “Happy Residents” effect by 1 day each time. | Towns already hitting their residents' needs, so the good spells last longer. |
Of the nine officials on this page, Sarah Bennett is the only one with a cost that lands every day whatever you do. A Moonshiners Outpost batch can fail, which the outpost’s own panel warns about, so her 20% matters most in a town that leans on moonshine. Moonshine Scandal covers the license side of that.
Sand Storm, first seat
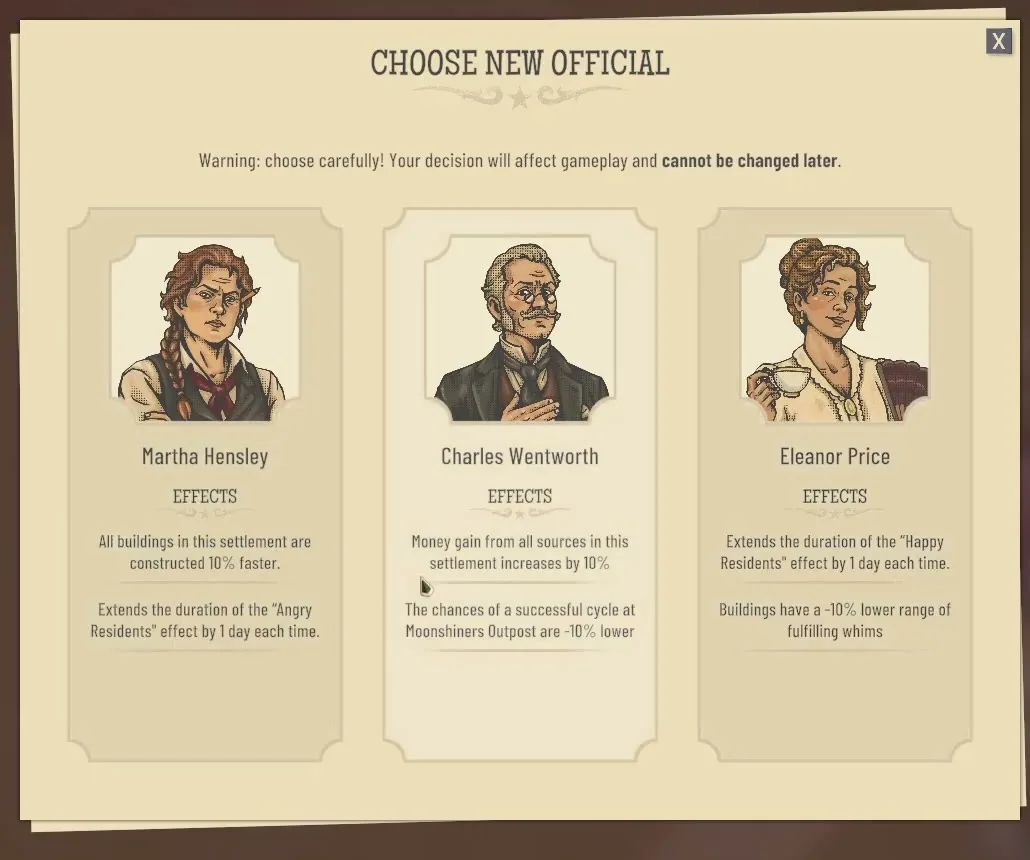
Offered once you have settled the desert. Each of the three pairs a bonus with a catch. Founding the town itself is covered on Sand Storm.
| Official | Effect | Worth it for |
|---|---|---|
| Martha Hensley | All buildings in this settlement are constructed 10% faster.Extends the duration of the “Angry Residents” effect by 1 day each time. | A fast start in the desert, if you can keep the new town fed from the first day. |
| Charles Wentworth | Money gain from all sources in this settlement increases by 10%The chances of a successful cycle at Moonshiners Outpost are -10% lower | A desert town that earns cash and leaves moonshine to Dust Creek. |
| Eleanor Price | Extends the duration of the “Happy Residents” effect by 1 day each time.Buildings have a -10% lower range of fulfilling whims | Compact layouts, where the shorter whim range costs you least. |
The third seat
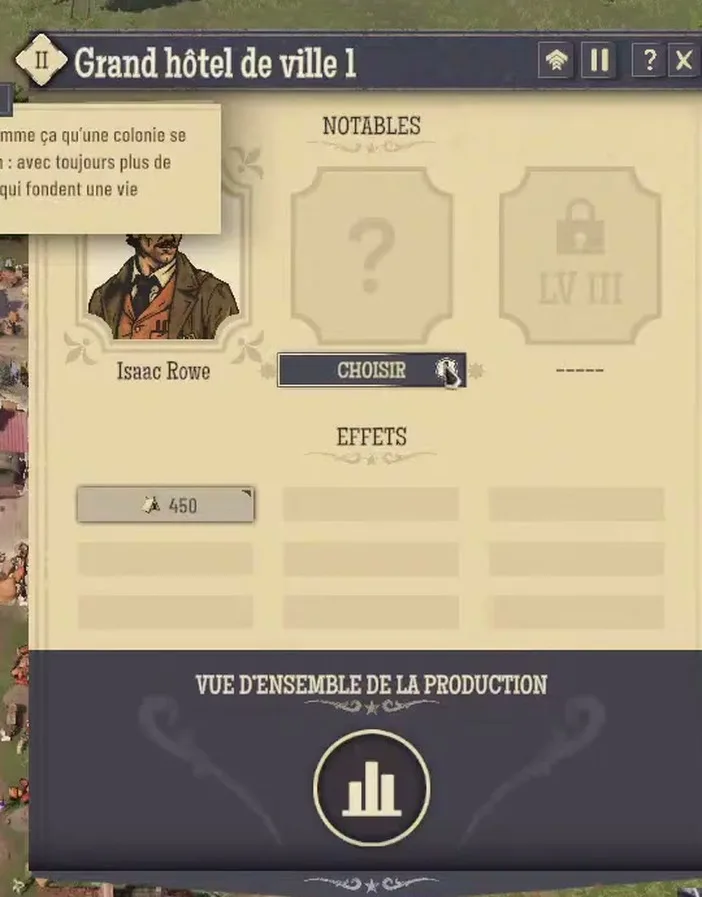
Both towns have a third official: the achievements ask you to appoint all three in each. The Office is for all three in Dust Creek and is held by 7% of players; Papers, please is for all three in Sand Storm, held by under 1%. The third seat stays locked until the Town Hall reaches level III. Level III is the Town Hall’s highest (this may have changed in later updates).
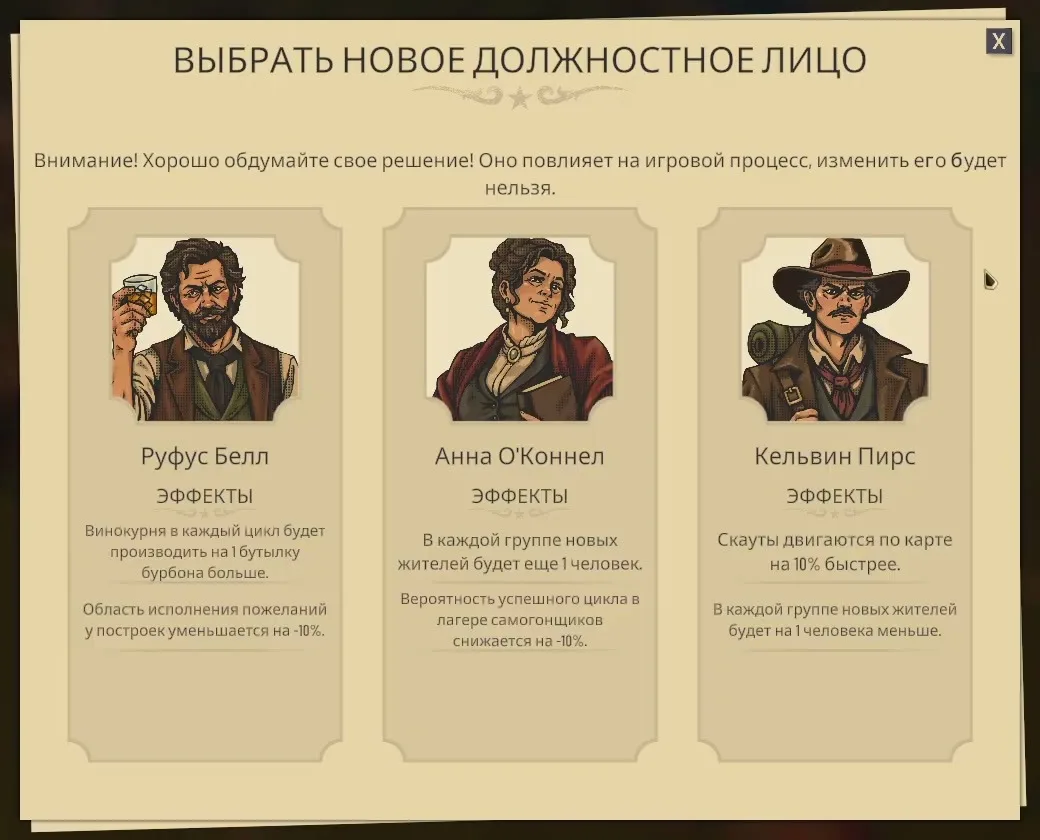
The third card in Dust Creek offers these three. The spelling of the names and the wording of the effects may differ in your game.
| Official | Effect |
|---|---|
| Rufus Bell | The distillery makes 1 more bottle of bourbon every cycle; buildings fulfil whims over a 10% smaller range. |
| Anna O’Connell | Every group of new residents brings 1 more person; moonshiners’ camps succeed 10% less often. |
| Kelvin (or Calvin) Pierce | Scouts move 10% faster on the map; every group of new residents brings 1 fewer person. |
What Sand Storm’s second and third seats offer is not known yet.
Related: quest order and achievements and residents’ needs and whims, which is what the Happy and Angry Residents effects above hang on.