
Sand Storm: founding your second settlement
Sand Storm is the desert where the gold for your debt is buried, and for now it is the only other place you can settle. Getting there takes a Settlers Base in Dust Creek, then caravans carrying food and dynamite, then a lot of blasting: a big rock needs 25 sticks of dynamite. The gold mine goes up in three stages after that.
Why you go there
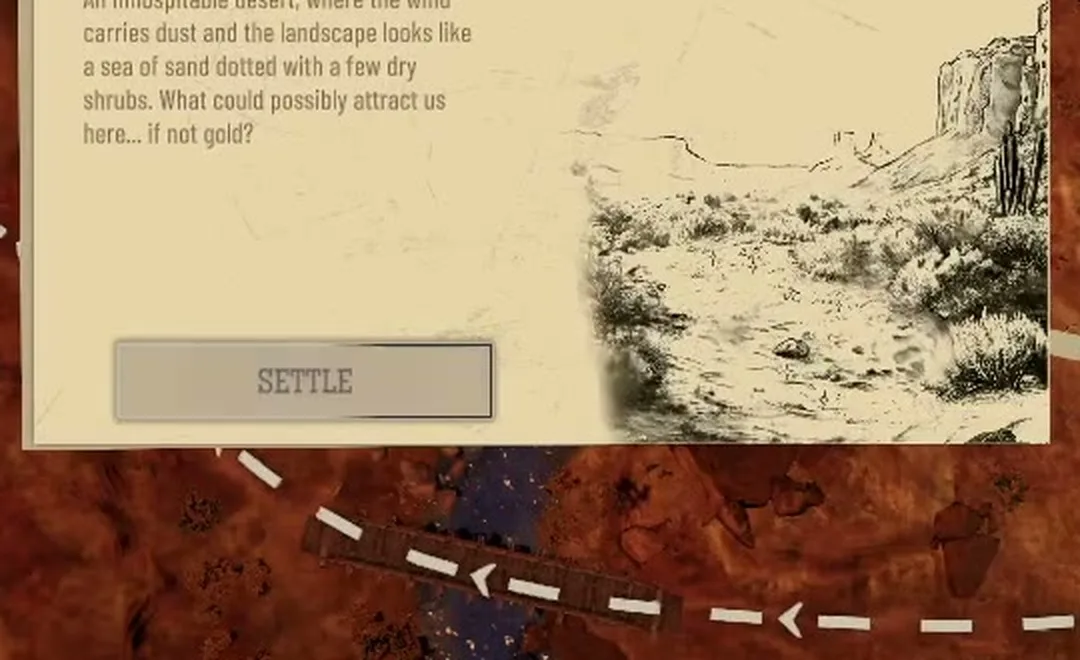
The debt pushes you. When Bill comes back for his money he tells you, bluntly, to head for the desert, dig up proper ore and smelt it into gold bars, and the Debt Owed objective changes to finding a gold vein under the rocks in Sand Storm, collecting 100 pieces of gold ore and delivering 50 gold bars to Dust Creek. Before the third hotfix the Journal asked for 100 bars; an existing save shows 50 once the game is updated, and the ore target stays at 100. The map card says the same thing more gently: “What could possibly attract us here... if not gold?” Where that debt comes from and what gold does before the desert is on gold and the debt.
There is nowhere else to go yet. An official forum account put it plainly: “Right now Early Access has 2 settlements, Dust Creek and Sand Storm”. So far 22% of players hold Now We're Multitasking, the achievement for founding a second settlement.
The route, stage by stage
1. Build a Settlers Base in Dust Creek
The Settlers Base is what creates a group of settlers to send out. Its idea costs 100 journey points, and building it costs 50 cash and 50 planks. Inside it, creating a settlers group costs 20 people, 20 cash and 20 canned food, and the group can take extra resources along in additional transport slots. If you picked Isaac Rowe as your first official, this is where he pays off: his card promises extra starting resources for every new settlement. The other officials are on the officials page.
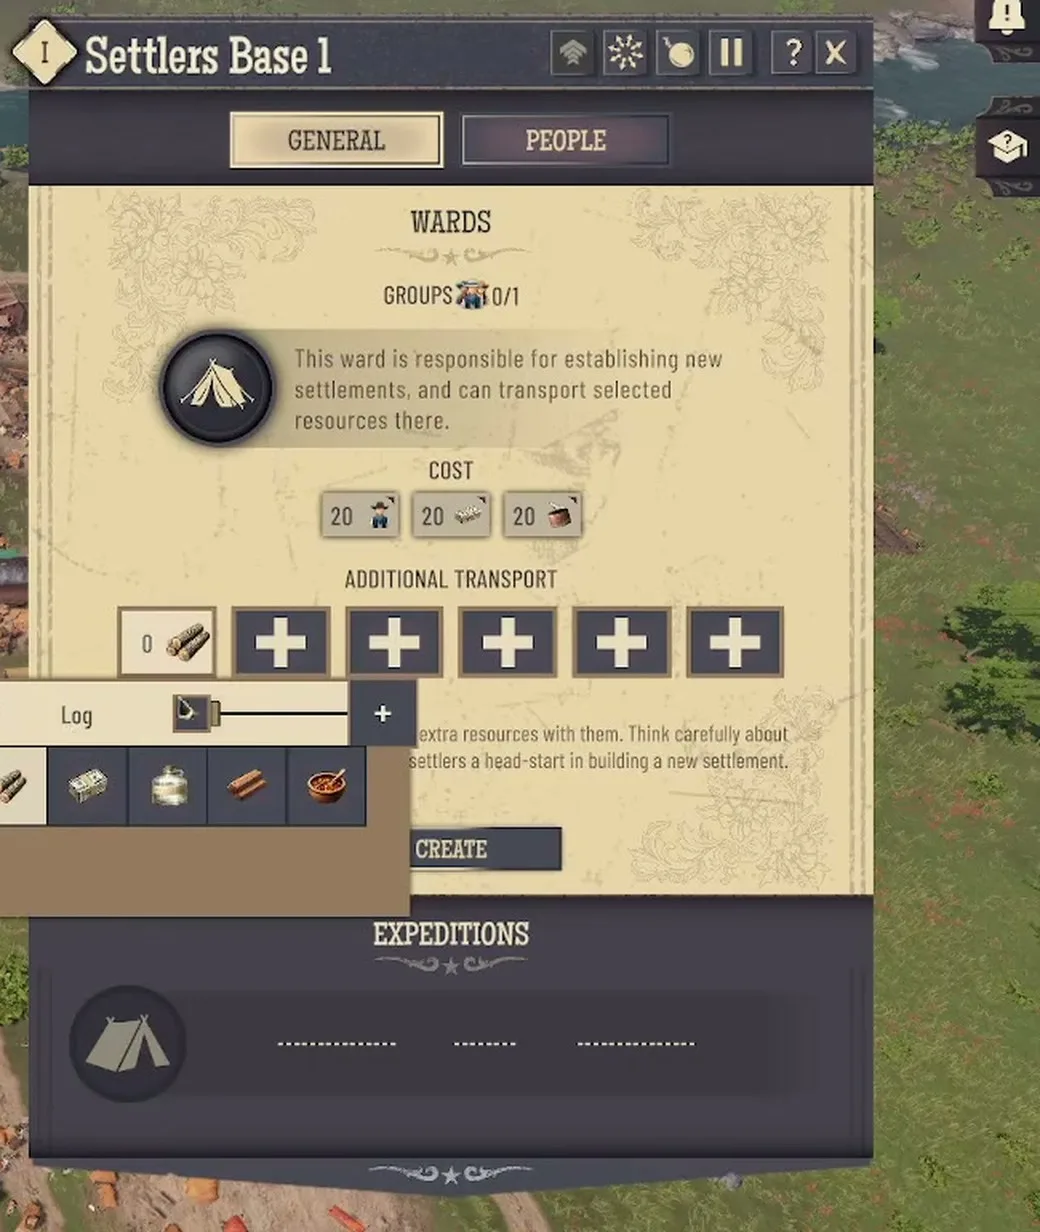
2. Settle Sand Storm from the world map
Open the world map and find the Sand Storm card; with a group ready, the Settle button sends them. Jesse’s tip for this step is to keep exploring the map until Sand Storm turns up. The new town starts from nothing: a construction tooltip there lists water access and a Food Shop as unmet needs.
3. Feed it by caravan
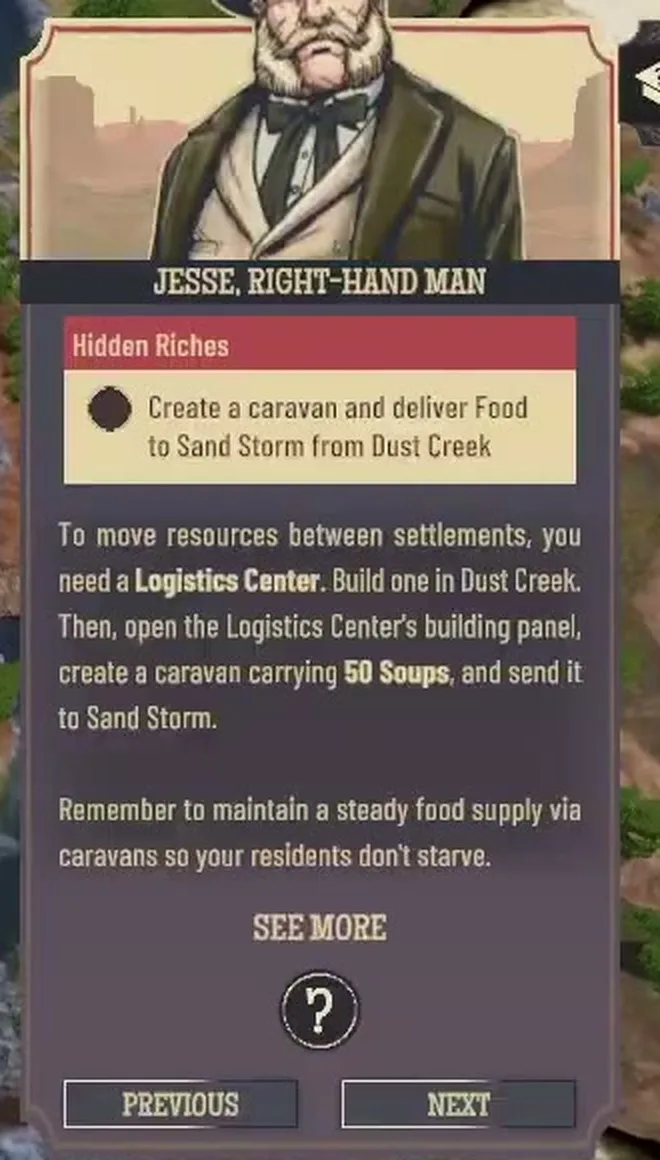
Your two towns trade with each other through caravans, and caravans come from a Logistics Center. Jesse’s card spells it out: “To move resources between settlements, you need a Logistics Center.” Build it in Dust Creek, create a caravan and send 50 Soups to Sand Storm. Its idea costs 200 journey points and the building 50 cash and 75 planks. A first-level Logistics Center holds three caravans, each carrying one kind of goods, and a fourth needs the building at level 2. What each caravan costs and how to keep one from disappearing is on trading and caravans.
Keep them running. The same card adds: “Remember to maintain a steady food supply via caravans”, so your desert residents don’t starve. One player wrote that “once you setup a second settlement things really go sideways since your trying to supply it from your main one constantly”. Food chains worth scaling up before you leave are on food chains.
A separate bug is worth knowing about: another player found that “Satisfaction plummets when switching between settlements.” For them, the main town wrongly showed no access to moonshine or barbers, and their workaround was to switch back and forth between the towns.
4. Bring dynamite and a blaster
The gold sits under the rocks, and rocks take dynamite plus a specialist. The next step on Jesse’s card is to send 10 dynamite to Sand Storm by caravan, then enlist Jamie, click a big rock formation and choose Destroy. Jamie is found at Cedar Creek Hollow on the world map, where a strange man walks in a circle murmuring about blowing things up; choose Approach him. Dynamite is made from saltpeter in the Dynamite Workshop, as the rock’s own warning says. Iron and other supplies you may need to buy are covered on iron, stone and wooden parts.
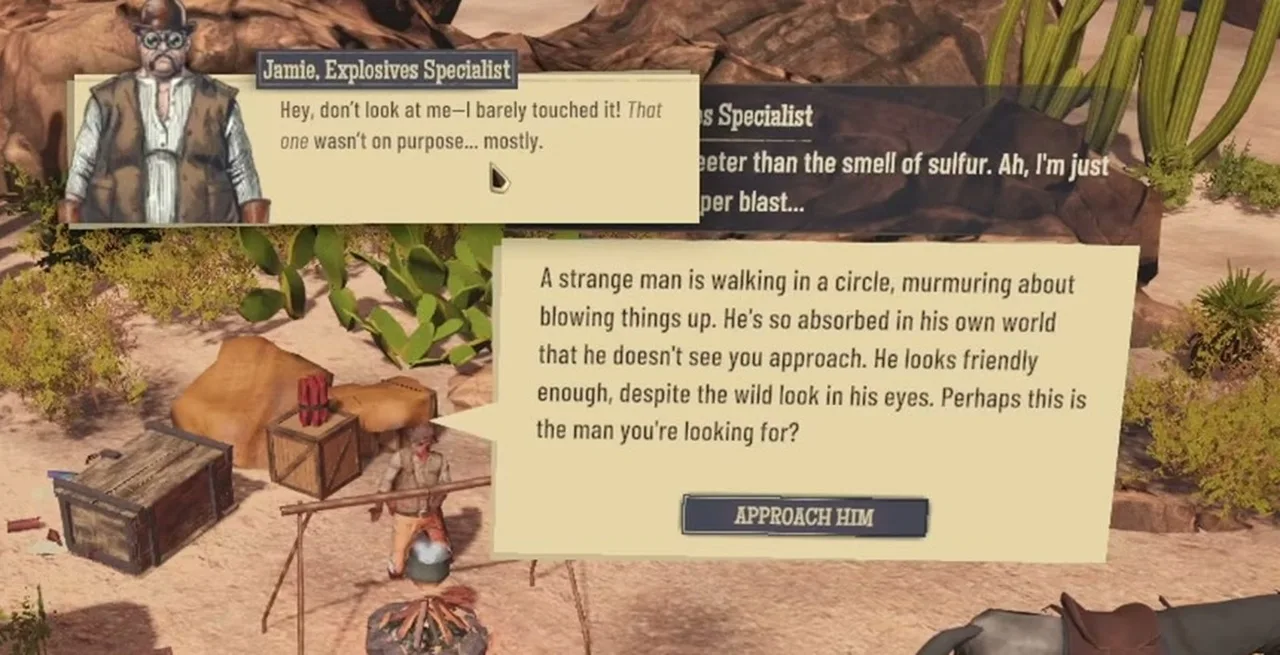
Once found, Jamie travels to Sand Storm on foot, and it can take a while. The publisher: “He runs there so it does sometimes take quite a long time for him to get there”. If he stops responding after you load a save, that was a bug that blocked the questline, and the fourth hotfix fixed it. Update the game; if he still ignores you after that, send a report from the pause menu.
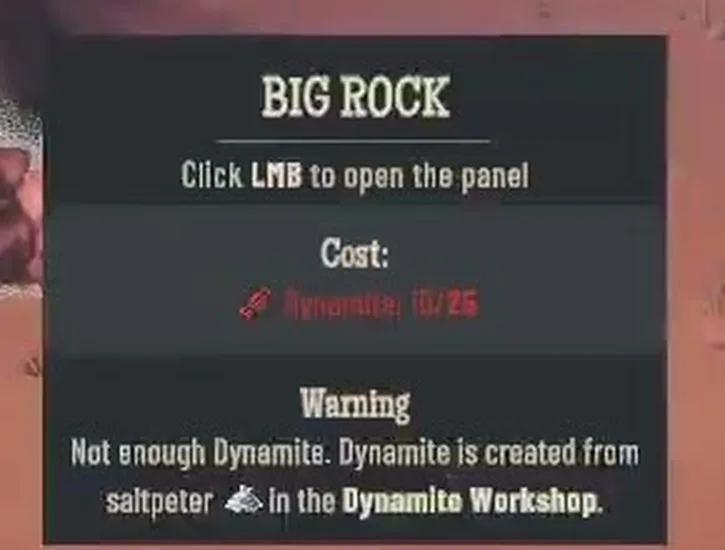
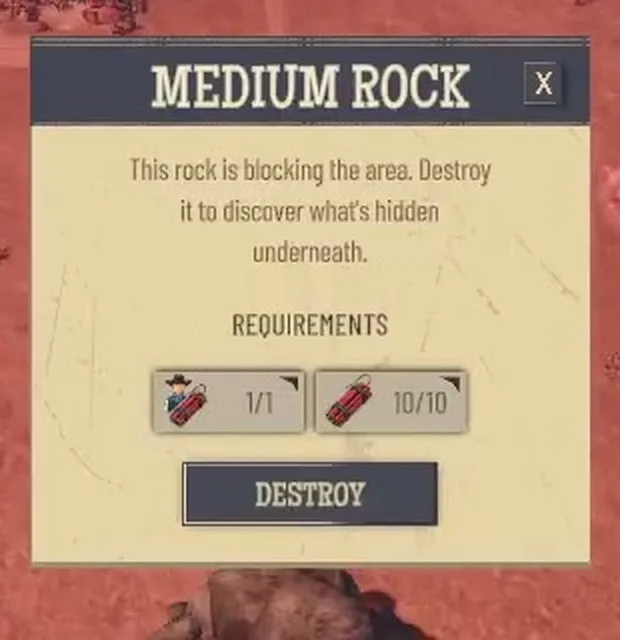
Not every rock can be blasted: one player found that if clicking a rock does nothing, it is not one you can destroy. Clearing every rock in Sand Storm is its own achievement, Yes Jamie, Kaboom, held by under 1% of players so far.
5. Build the gold mine in three stages
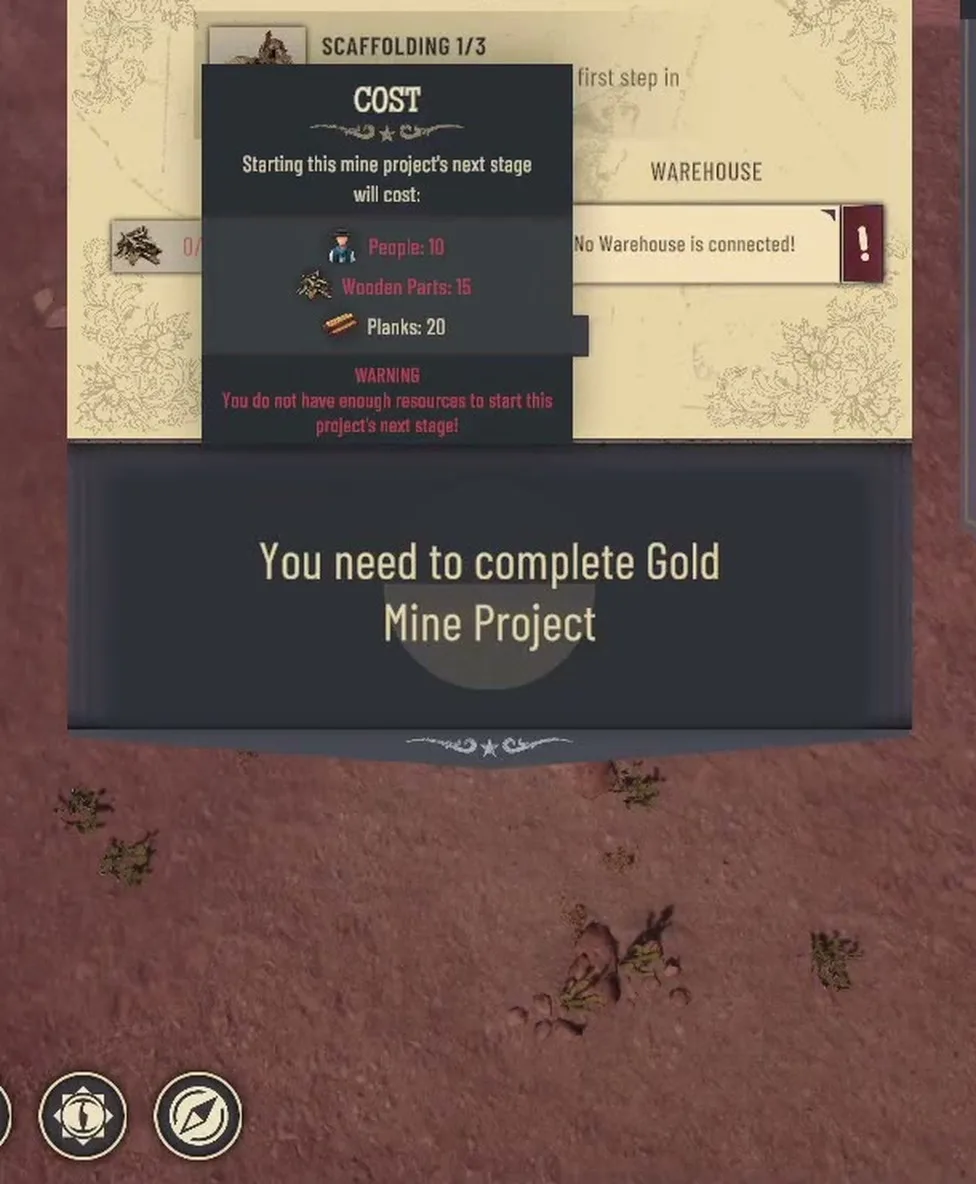
Where the blast uncovers gold, you place a Gold Mine and finish all three of its building stages before it produces anything. If you cannot find a spot for it, blast first. An official forum account: “In Sand Storm there's only gold to mine, and the gold spots only show up once you've blown up the big rocks and unlocked access to the mine.” The first stage, Scaffolding, costs 10 people, 15 wooden parts and 20 planks, and the mine has to be connected to a warehouse. The game’s guide names the level: “It needs a connection to a Level 2 Warehouse.”
6. Finish the mine and refine the gold
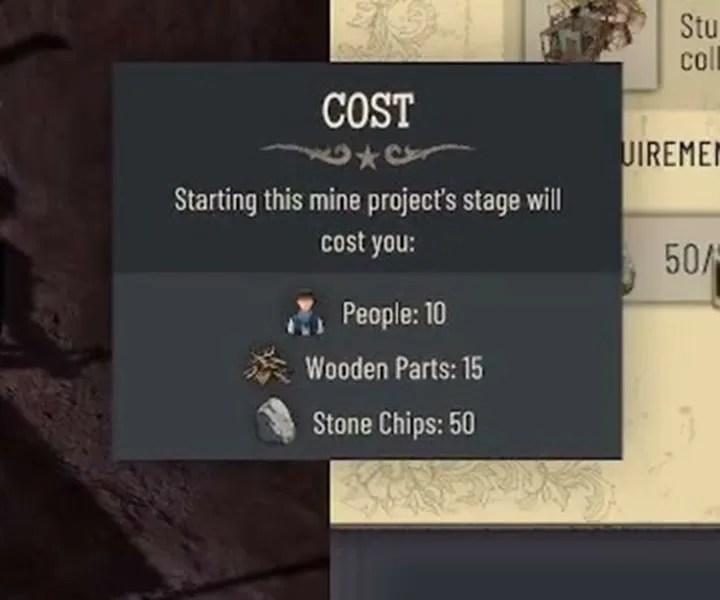
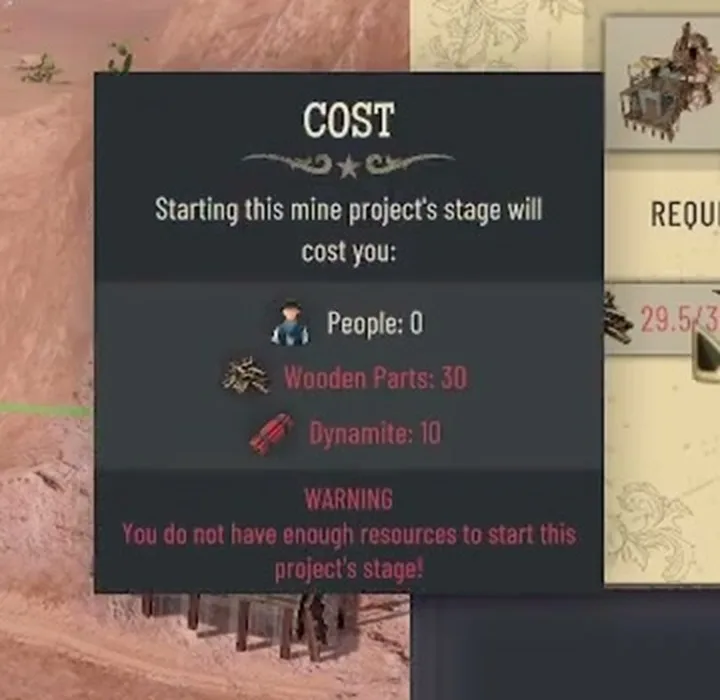
The second stage, which the finished banner calls Shoring, costs 10 people, 15 wooden parts and 50 stone chips (this one may have changed in later updates). The third, the Mine Tunnel, costs 30 wooden parts and 10 dynamite. Stone chips are what blasted rocks leave behind, so the blasting in stage 4 pays for part of this. A gold mine with five workers has been seen producing 2.5 ore an hour.
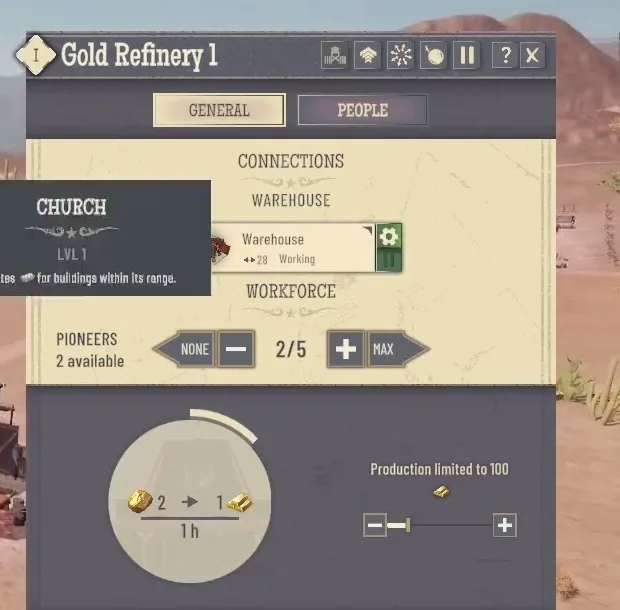
The ore becomes bars at the Gold Refinery. It costs 50 cash, 30 wooden parts and 20 stone chips to build and turns 2 gold ore into 1 gold bar per hour. At these rates (they may differ in your game), the 50 bars Bill wants take 100 ore: about 40 in-game hours for one five-worker mine, and about 50 hours for one refinery at the rate shown, so the refinery is the slower half. More mines or more refineries shorten it. The bars then go back to Dust Creek by caravan, and what happens when you hand them over is on the main story after the debt.
Wooden parts come from the Carpenter’s Workshop, a Level II idea, so plan that unlock before the desert. The Gold Refinery, which turns ore into the bars Bill wants, only unlocks after the Gold Mine idea.
What it all costs
| Step | Cost |
|---|---|
| Settlers Base | 100 journey points to unlock; 50 cash, 50 planks to build |
| A settlers group | 20 people, 20 cash, 20 canned food |
| Logistics Center | 200 journey points to unlock; 50 cash, 75 planks to build |
| First caravan run | 50 Soups, then 10 dynamite |
| Big rock | 25 dynamite, plus Jamie, the blaster |
| Medium rock | 10 dynamite and a specialist |
| Gold mine, stage 1 of 3 | 10 people, 15 wooden parts, 20 planks |
| Gold mine, stage 2 of 3 | 10 people, 15 wooden parts, 50 stone chips |
| Gold mine, stage 3 of 3 | 30 wooden parts, 10 dynamite |
| Gold Refinery | 50 cash, 30 wooden parts, 20 stone chips; about 2 ore make 1 bar an hour (may differ) |
Related
Gold and the debt for the first gold and why Bill wants it, the officials for the three you can appoint in Sand Storm, iron, stone and wooden parts for what to stock before you go, and quest order and achievements for where the story goes after the desert.